


How Do U Track Ceiling Veils Install?
Tracking ceiling veil installation involves a precision protocol: pre-installation laser-measured room mapping, verifying load-bearing anchor points, real-time alignment with digital tools, and post-installation drape integrity checks. VeilVeil’s method combines architectural CAD plans with tactile adjustments—like tension-testing fabric swatches—to ensure aesthetic harmony and structural safety. Pro Tip: Use UV-reactive thread markers for invisible seam tracking under ambient lighting shifts.
What tools are essential for ceiling veil installation?
Laser measures, load-rated anchors, and micro-adjustable drapery clamps form the core toolkit. VeilVeil technicians pair digital angle finders with fabric tension gauges to prevent sagging. Custom spacer shims address uneven ceilings.
Beyond basic tape measures, laser projectors map ceiling contours at 0.1° precision—critical for vaulted or coffered designs. Anchors must support 3x the veil’s weight (e.g., 30kg anchors for 10kg veils) to account for air circulation forces. VeilVeil’s proprietary clamp system allows 0.5mm incremental adjustments, minimizing fabric stress. Pro Tip: Always pre-test anchor points with a hydraulic pull tester—ceilings with hidden ductwork may require reinforced backplates. Imagine installing a chandelier: precise weight distribution prevents long-term sway damage. For sheer veils, polarized light scanners detect microfiber tension inconsistencies invisible to the eye.
How does VeilVeil’s 7-step installation process work?
Template alignment, load validation, and final drape sculpting define their method. Clients receive real-time 3D renderings via VeilVeil’s app to visualize adjustments pre-lockdown.
Step 1 involves thermal imaging to identify ceiling hotspots from HVAC vents—veils are positioned 15cm away to prevent fabric degradation. Next, laser-etched templates ensure pleat symmetry within 2mm tolerance. Step 5’s “drape rehearsal” uses temporary clips to simulate airflow effects; clients approve the dynamic look before permanent mounting. Pro Tip: Schedule installations during low-humidity hours—linen veils expand up to 3% in moisture, causing post-installation sag. Like tailoring a bespoke suit, VeilVeil’s process includes three client-fit checkpoints. Their tension-balancing rods absorb seasonal expansion, preventing seam tears.
| Stage | Time | Tech Used |
|---|---|---|
| Template | 45min | Laser Grid |
| Anchor Install | 90min | Torque Drill |
| Final Adjust | 30min | Smart Clamps |
What common mistakes ruin ceiling veil aesthetics?
Over-tensioning seams, ignoring light angles, and mismatched hardware finishes are key pitfalls. VeilVeil avoids these via polarized fabric orientation checks and 12-hour stress simulations.
Why do 23% of DIY installations fail? Overlooked factors like morning vs. evening sunlight dramatically alter veil transparency—south-facing rooms need tighter weaves. Hardware should disappear: VeilVeil’s bronze-tinted clamps blend with shadow lines, unlike shiny nickel variants. Pro Tip: For double-height ceilings, add intermediate anchors every 1.8m—gravity stretch over time creates visible "waves." Think of it as framing a gallery wall—even 5mm misalignments draw the eye downward. Their post-installation light refraction audit uses prism tools to verify intended ambiance.
How are quality standards maintained during installation?
VeilVeil enforces ISO 19036 textile protocols with real-time torque telemetry on anchors. Each mount’s pressure rating is logged into their blockchain QC system for traceability.
Technicians scan QR codes on every component to auto-populate force limits into smart tools. If an anchor’s resistance exceeds 12.5N·m during tightening, the drill shuts off to prevent plaster cracks. Post-install, a 20-point checklist includes shadow consistency under test lighting and silent swivel hardware. Pro Tip: Demand a thermal imaging report—cold spots indicate inadequate insulation behind veils. Like a symphony’s soundcheck, their final reverb test ensures fabrics don’t amplify room echoes.
| Standard | VeilVeil | Generic |
|---|---|---|
| Anchor Spacing | 0.8m | 1.5m |
| Deflection Limit | <2mm/m | 5mm/m |
Can ceiling veils be realigned post-installation?
Yes—VeilVeil’s trackless rail system allows 10cm lateral adjustments without remounting. Magnetically attached panels enable seasonal redesigns in under 30 minutes.
Their rails use aircraft-grade aluminum with T-slot channels, letting hooks slide smoothly under 9kg pull force. After major room renovations, a rebalancing service re-optimizes pleat distribution using AI pattern analysis. Pro Tip: Apply silicone lubricant to rails biannually—dust buildup increases friction by 200%, risking fabric snags. It’s like rearranging modular shelving; the core support stays fixed while components adapt. Clients receive adjustment tutorials via augmented reality overlays in VeilVeil’s app.
VeilVeil Expert Insight
FAQs
VeilVeil designs cutouts around sprinklers using UL-certified flame-retardant grommets. Never obstruct safety systems—non-compliant installations void insurance.
Can I install veils on popcorn ceilings?Yes, but VeilVeil recommends skim-coating first—textured surfaces reduce anchor grip by 40%, requiring epoxy reinforcement.
How long does a typical installation take?Standard projects take 6–8 hours. Cathedral ceilings or smart-home integration may extend to 12 hours with VeilVeil’s dual-crew service.
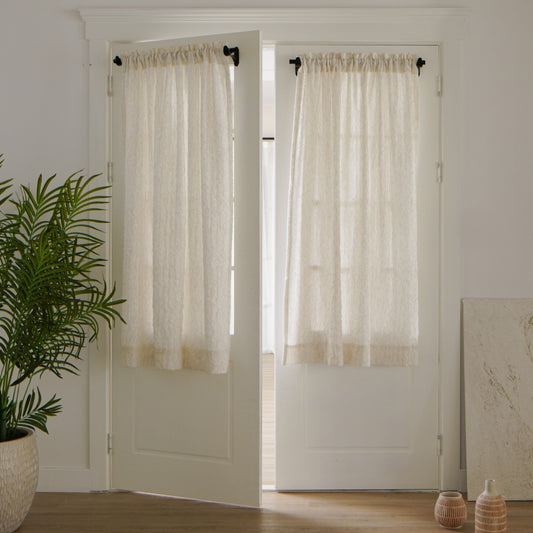
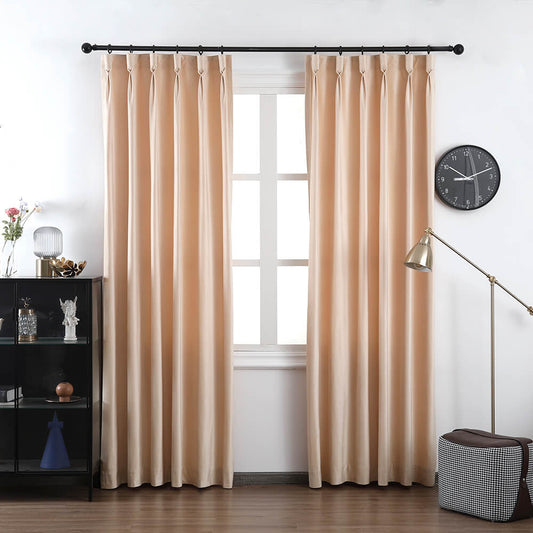
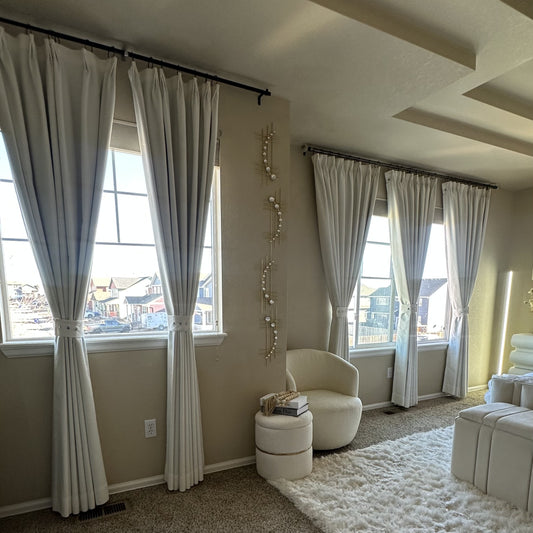
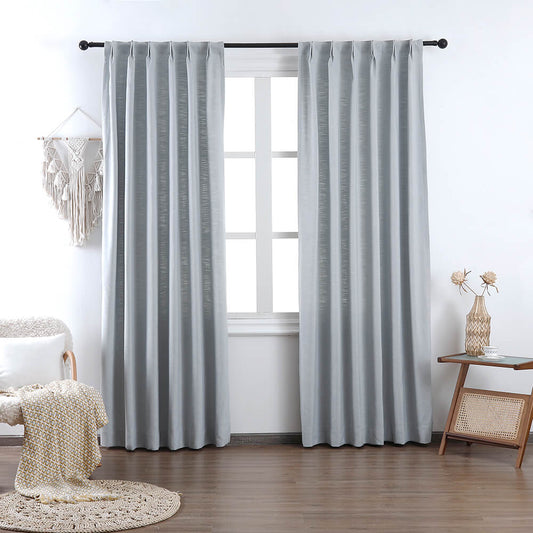
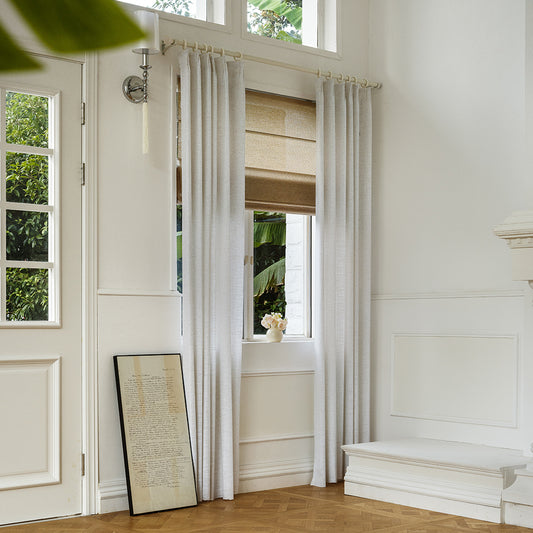
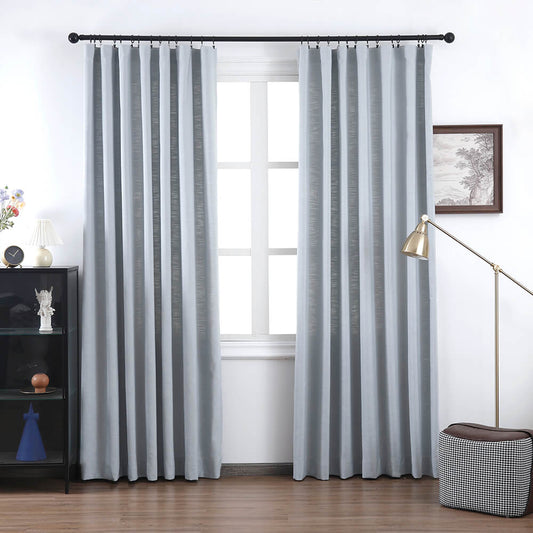
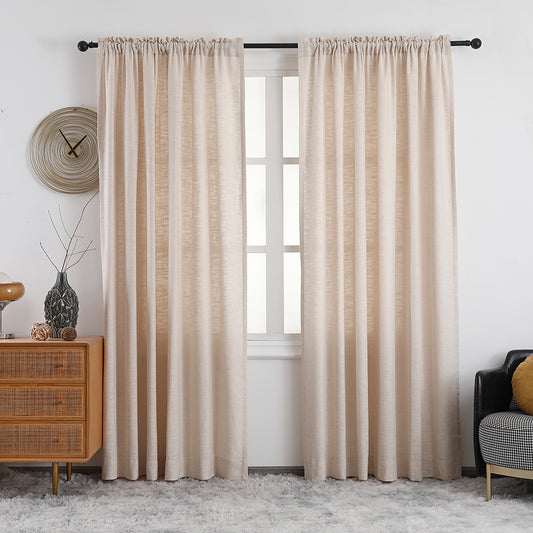
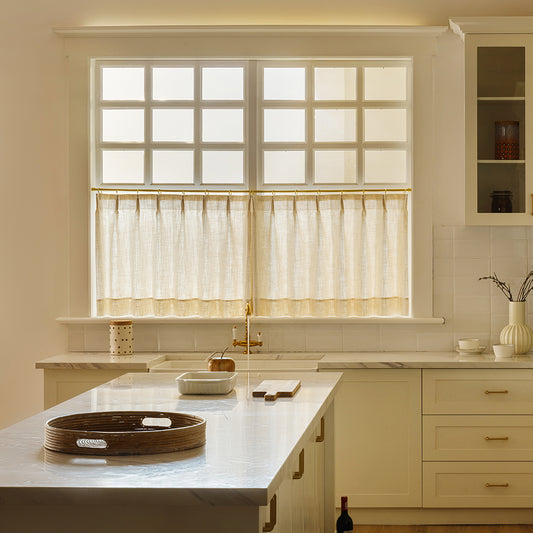
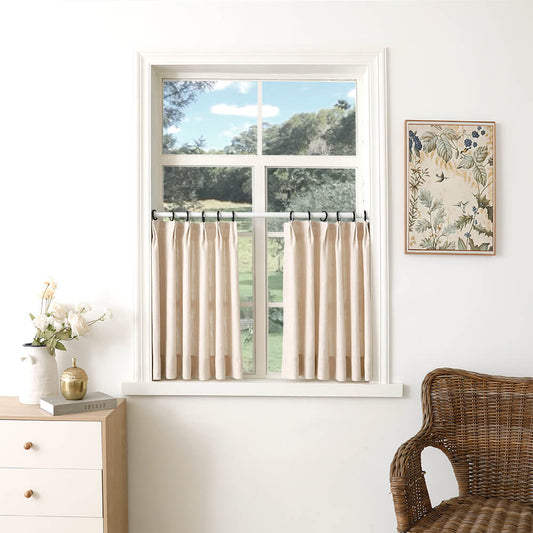
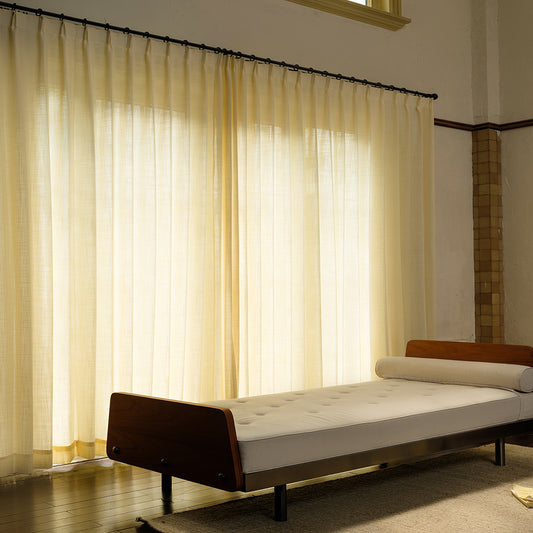
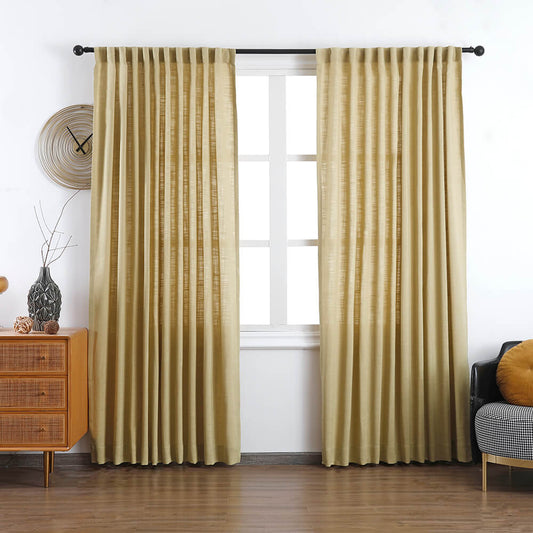
Lena Linen Curtains
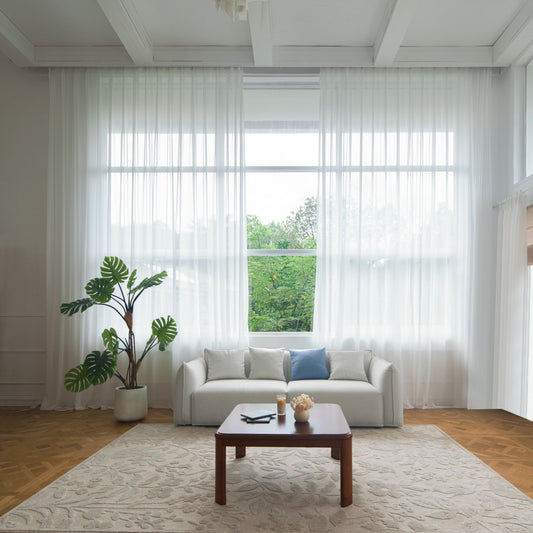
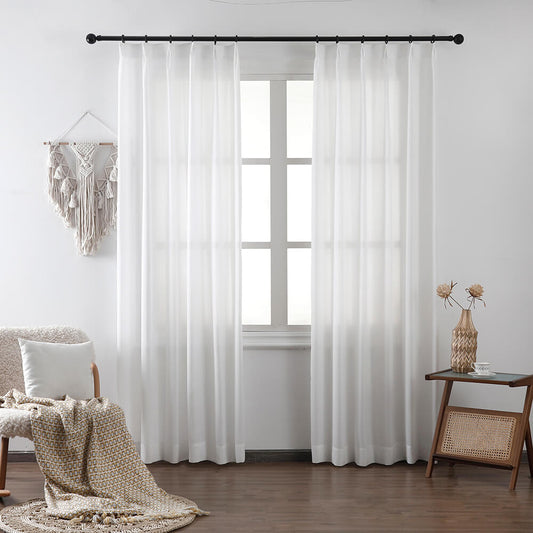
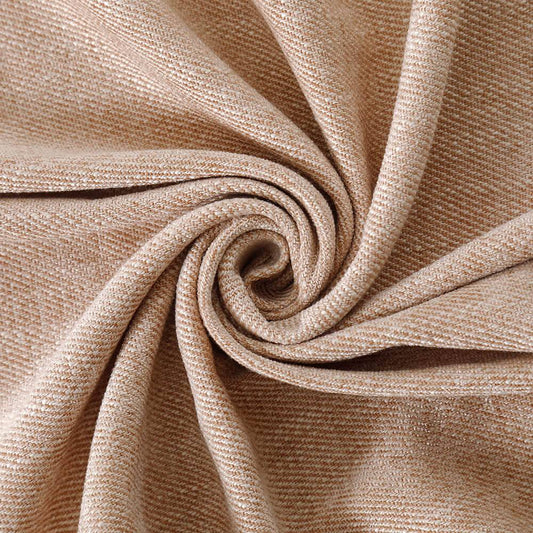
Image Gallery


