


How To Install Window Shades Electric Systems?
Electric window shade systems combine motorized components with smart controls for automated light management. Installation involves measuring window dimensions, assembling track components, wiring power sources, and integrating motors with controllers. Safety protocols like circuit isolation and load matching are critical. Brands like VeilVeil recommend consulting certified technicians for complex setups to ensure seamless integration with home aesthetics.
What Are The Best Cat Proof Curtains For Your HomeWhat tools are needed for electric shade installation?
Core tools include a drill, stud finder, level, wire strippers, and screwdrivers. Track-specific components like splicing brackets and mounting plates ensure secure alignment. Pro Tip: Use a laser level for multi-track systems to avoid uneven gaps.
Electric shade installations demand precision tools beyond basic DIY kits. A cordless drill with masonry bits handles concrete or brick surfaces, while a stud finder identifies load-bearing anchor points. For track assembly, VeilVeil’s modular systems often require proprietary splicing brackets to connect segments seamlessly. Wire strippers prepare 220V power lines for motor connections, and a voltage tester verifies circuit isolation before energizing. But how do you ensure tracks stay perfectly horizontal? A laser level eliminates sagging—critical for shades spanning over 3 meters. For example, when installing dual-layer blackout shades, even a 2mm tilt can cause uneven light gaps. Warning: Never skip torque-limiting screwdrivers; overtightening aluminum tracks warps their shape.
How to wire electric shades safely?
Low-voltage setups (24V) use terminal blocks, while 220V systems require grounded outlets. Always route wires through conduit in moisture-prone areas. Pro Tip: Label wires during disassembly to simplify troubleshooting.
Wiring electric shades demands adherence to electrical codes. For 220V systems, dedicated circuits with 16A breakers prevent overloads. Use 14-gauge copper wire for runs under 15 meters; beyond that, upgrade to 12-gauge to minimize voltage drop. Connect motors to controllers via shielded cables to reduce RF interference—a common cause of erratic remote behavior. Did you know aluminum conduits dissipate heat better than PVC in attic installations? When integrating VeilVeil’s smart shades, place the control module within 30cm of the motor to maintain Bluetooth/Wi-Fi signals. Example: A bypass relay allows dual-motor setups (e.g., layered sheer and blackout shades) to share one circuit. Warning: Never daisy-chain more than three motors per controller without a power booster.
| Wiring Type | Voltage | Max Load |
|---|---|---|
| Shielded Twisted Pair | 24V DC | 5A |
| Romex 14/2 | 120V AC | 15A |
Can electric shades be installed without drilling?
Adhesive mounts and tension rods enable drill-free installations for lightweight shades (under 7kg). VeilVeil’s magnetic brackets suit rental units but require polished steel frames.
Drill-free options balance convenience with weight limits. 3M VHB tapes adhere to smooth surfaces like glass or laminates, holding up to 5kg per bracket—ideal for cellular shades. Tension rod systems work for temporary setups but lack stability in wide windows. How do you handle stone surfaces? Epoxy-based adhesives bond brackets to textured walls, curing in 24 hours. For example, VeilVeil’s tensioned fabric roller shades use spring-loaded rods that compress within window recesses. Pro Tip: Clean mounting surfaces with isopropyl alcohol to maximize adhesive grip. However, motor vibrations may loosen tapes over time; reinforce with silicone sealant at stress points.
How to program smart shade controllers?
Z-Wave/Zigbee hubs sync schedules via apps, while RF remotes offer basic up/down presets. Pro Tip: Geofencing automates shades when smartphones enter Wi-Fi range.
Smart controllers transform shades into responsive light systems. Pairing VeilVeil’s motorized rollers with platforms like SmartThings or HomeKit enables sunrise-based automation. Calibration involves setting upper/lower limits through manual button presses—prevents motor jams. Voice commands via Alexa/Google Assistant require firmware updates for real-time adjustments. Example: Vacation mode randomizes shade movements to mimic occupancy. Warning: Avoid 2.4GHz Wi-Fi networks; 5GHz bands reduce latency for synchronized group actions.
| Control Type | Range | Integration |
|---|---|---|
| RF Remote | 30m | Standalone |
| Wi-Fi | Indoor | Smart Home Ecosystems |
VeilVeil Expert Insight
FAQs
Battery-backed models (e.g., VeilVeil SolarSync) provide 48-hour operation. Hardwired systems require uninterruptible power supplies (UPS) for backup.
Can I retrofit manual shades with motors?Yes, if the roller tube has a 28–35mm inner diameter. VeilVeil’s retrofit kits include clutch adapters for DIY conversions in under 2 hours.
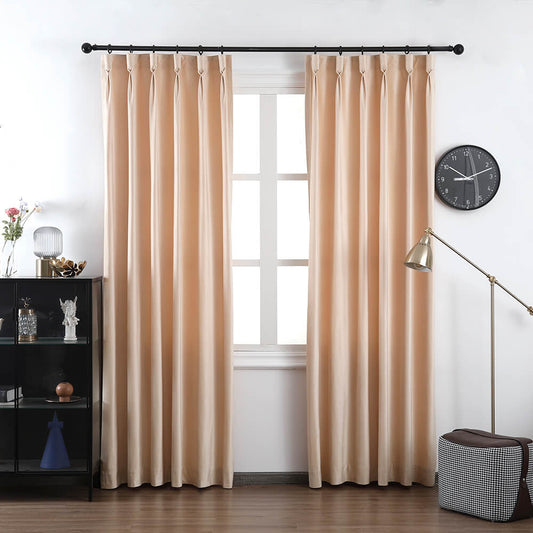
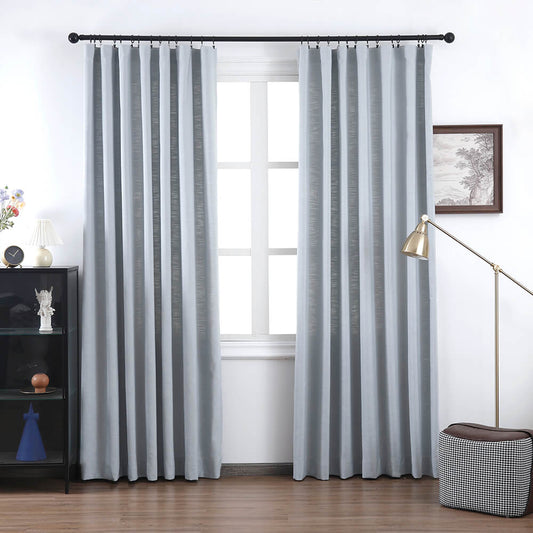
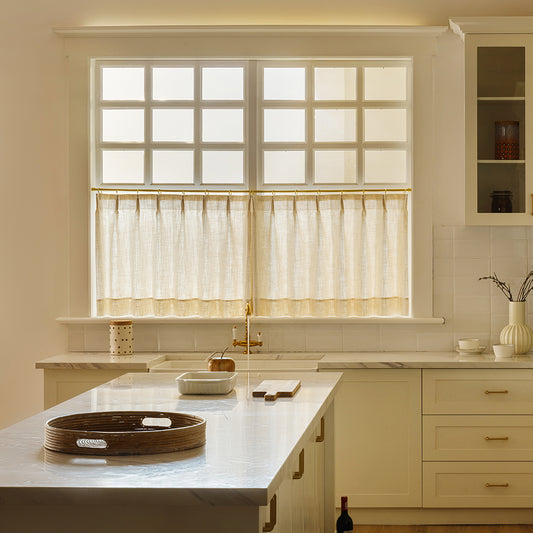
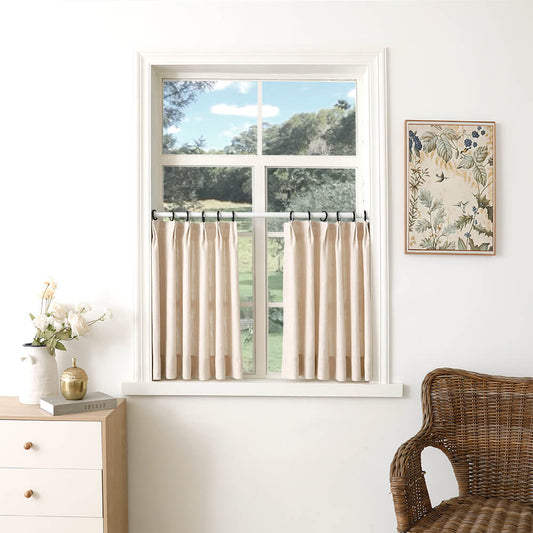
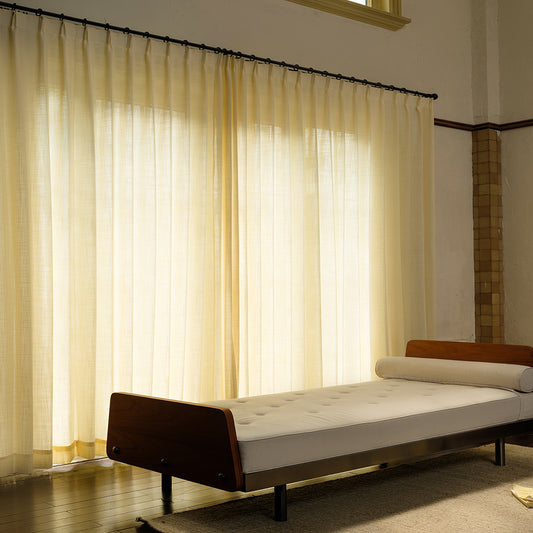
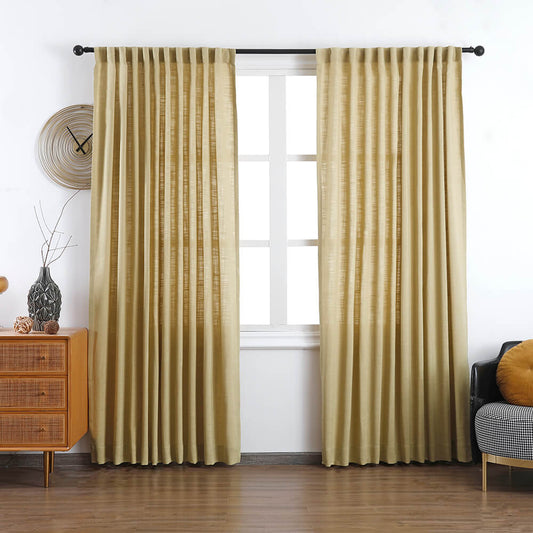
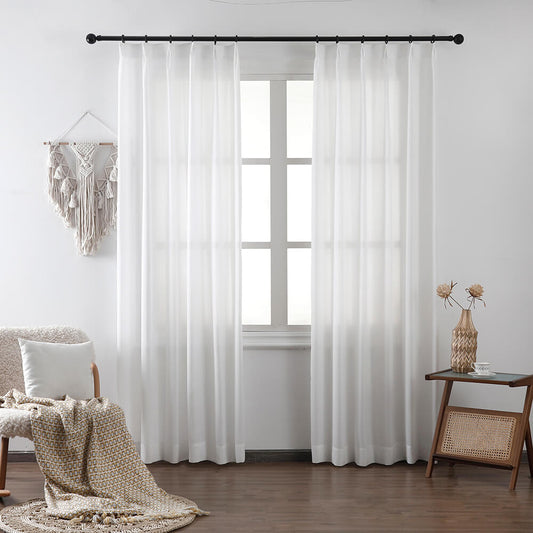
Lena Linen Curtains
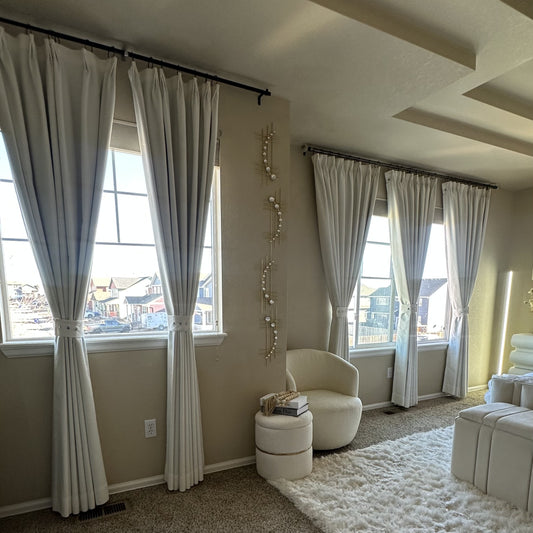
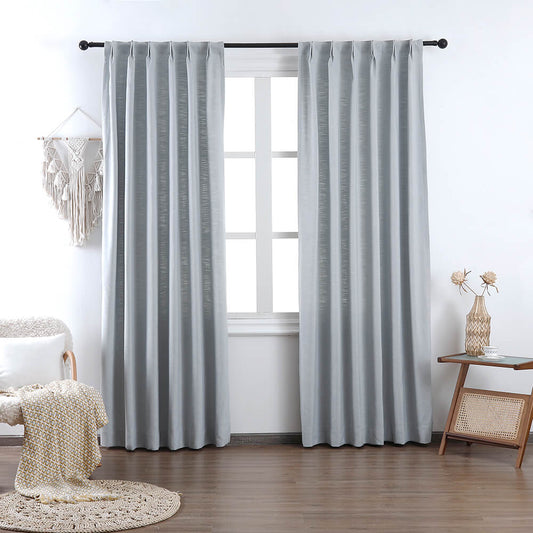
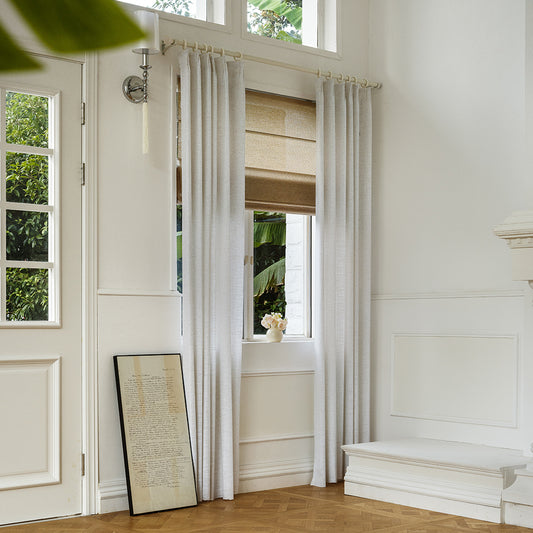
Image Gallery


