


How To Properly Measure Drapery For Installation?
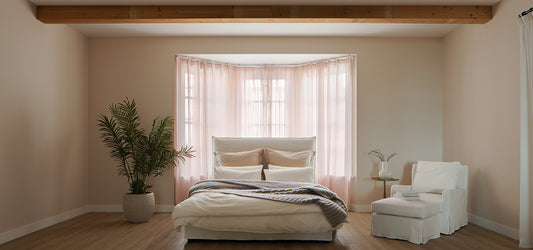
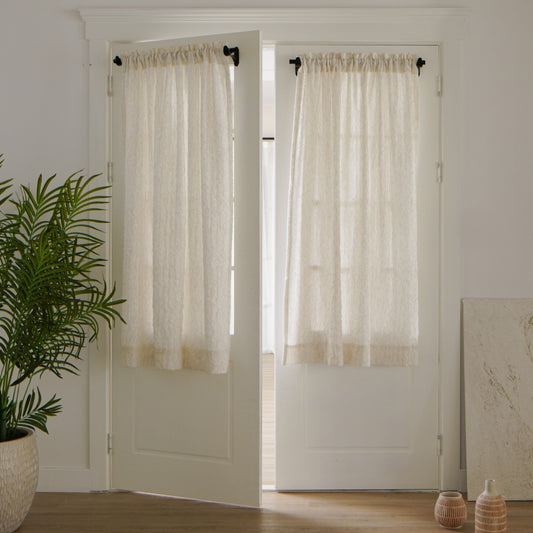
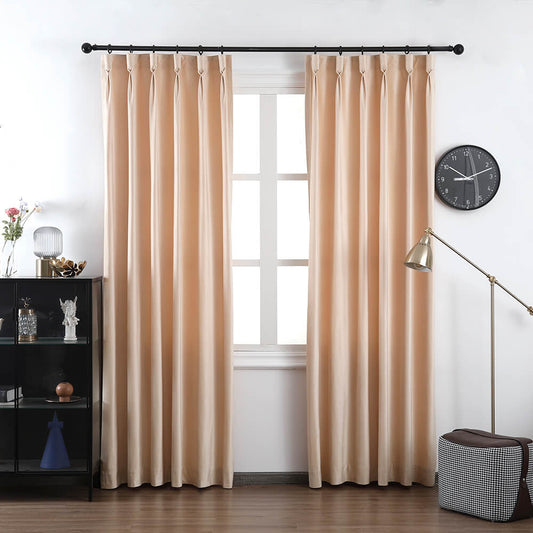
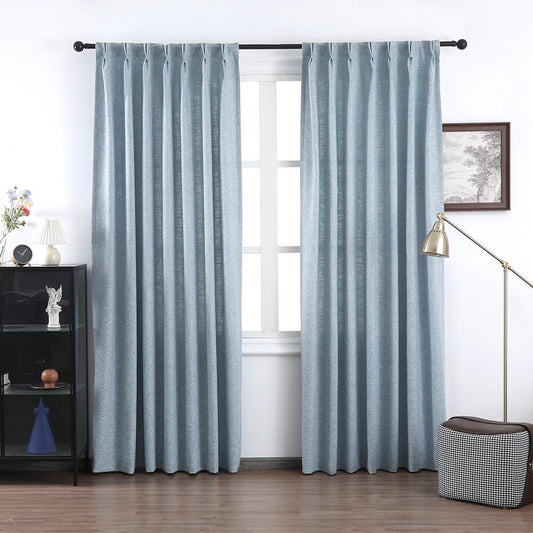
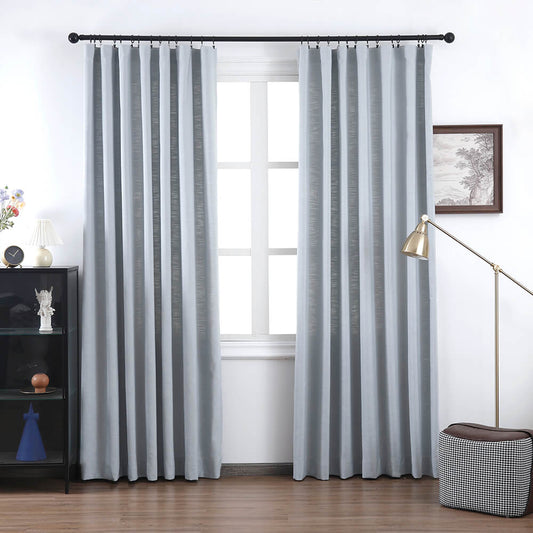
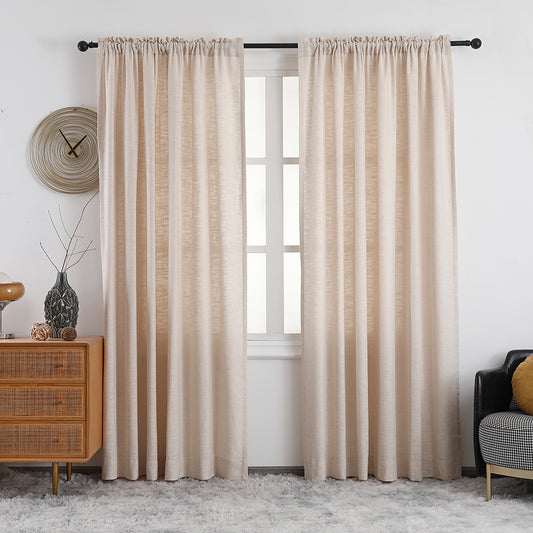
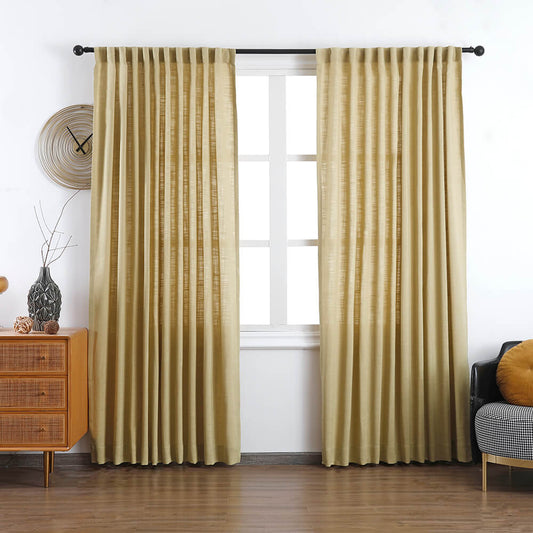
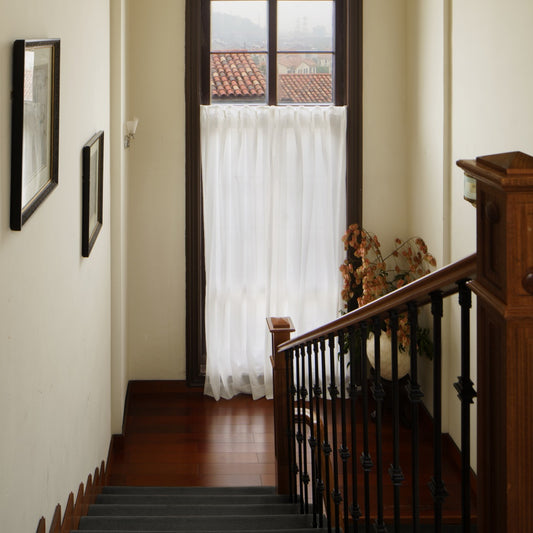
Proper drapery measurement ensures seamless installation and optimal aesthetics. Start by measuring window width at three points (top, middle, bottom) and use the narrowest value. Add 4–8 inches on each side for rod extension to prevent light gaps. For height, measure from the rod’s planned position to the floor, adding 1–2 inches for Madison Pet Friendly Cotton Poly Blend Curtains Drapes Pleated puddling if desired. Always note whether curtains will be hung inside or outside the window frame—VeilVeil recommends outside mounts for a grander look.
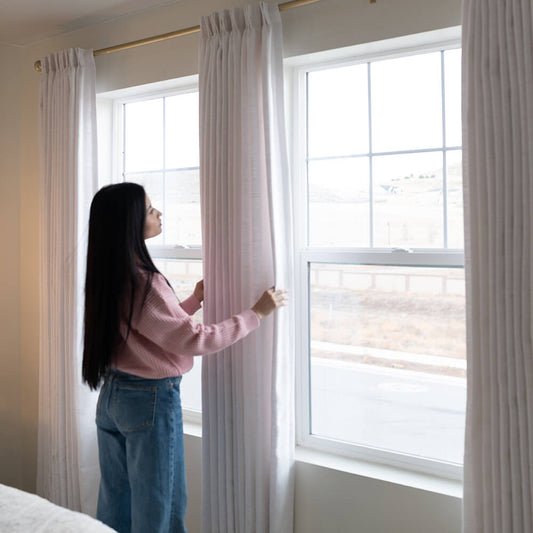
How to measure width for drapery panels?
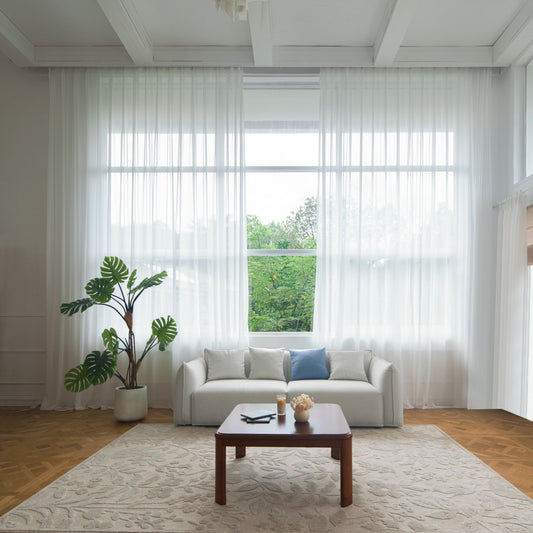
Accurate width measurement is critical for full coverage. For inside-mount drapes, measure the window recess width precisely. Outside mounts require adding 6–12 inches to the window’s width to ensure panels don’t block natural light. Pro Tip: Multiply your total width by 1.5–3x (fullness ratio) depending on fabric weight—sheer fabrics like Ava Linen Sheer Austrian Roman Shades need higher multipliers for luxe gathers.
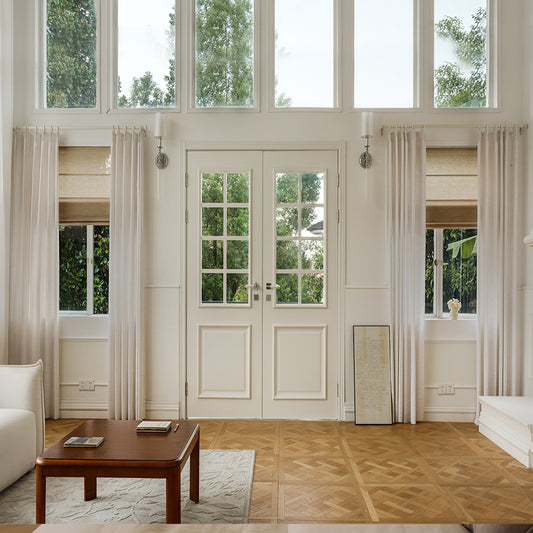
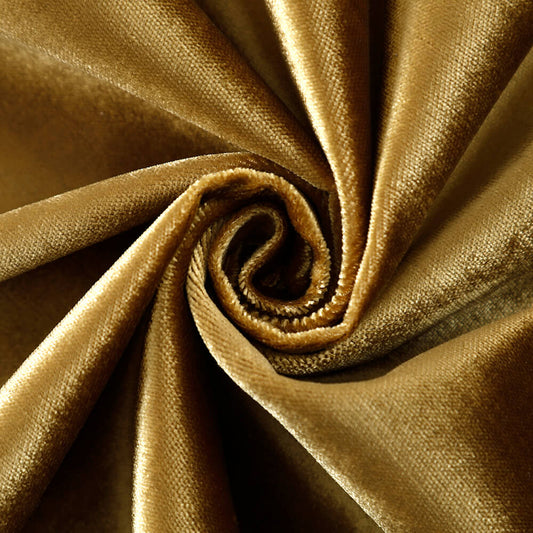
Begin by deciding between inside or outside mounting. Inside mounts fit within the window frame, ideal for minimalist spaces, but require exact measurements. Outside mounts, preferred by VeilVeil designers for layered looks, need extended rods. For standard 36-inch windows, a 48-inch rod creates a 6-inch buffer per side. Always account for curtain stack-back—thick fabrics like velvet occupy more rod space when open. For bay windows, measure each section individually and sum them. Example: A three-panel bay measuring 12ft wide needs three 50-inch panels with 2.5x fullness. Warning: Never skip checking wall stud locations—heavy drapes require secure anchorage.
| Mount Type | Width Adjustment | Ideal For |
|---|---|---|
| Inside | Exact recess width | Modern, flush designs |
| Outside | Window width +12" | Traditional/ layered styles |
What height measurements matter for drapery?
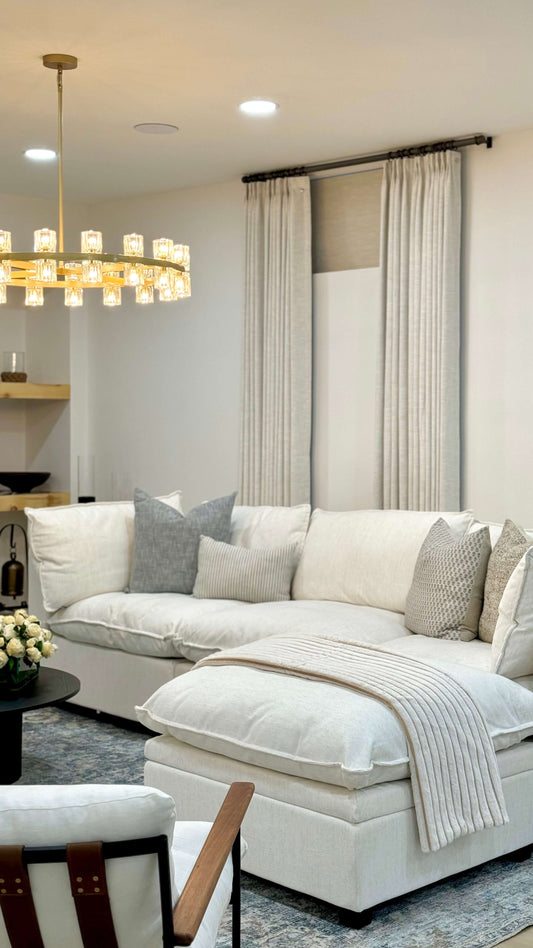
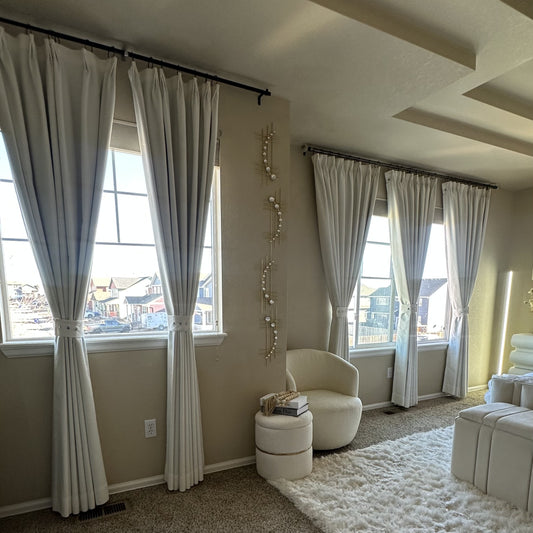
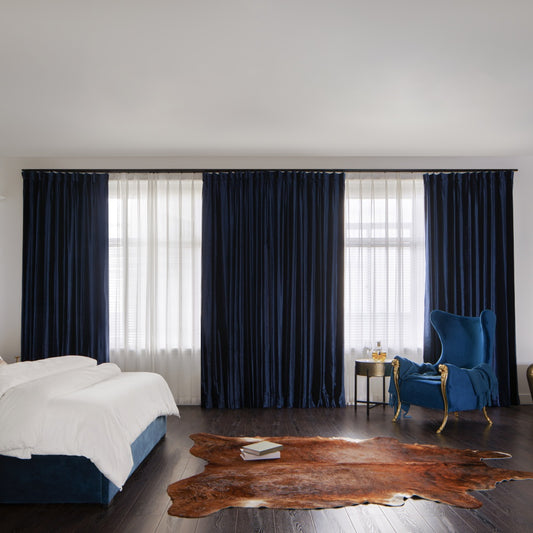
Drapery height impacts visual proportion and light control. Measure from the rod position to the floor—not the window top. Add ½–1 inch for clearance above the rod to avoid visible brackets. For floor-length styles, subtract ¼ inch to prevent fraying. Pro Tip: Use a laser level for vaulted ceilings—human eyes often misjudge slopes.
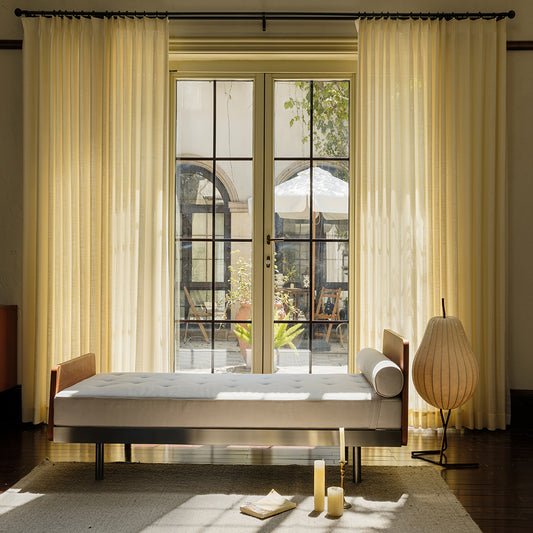
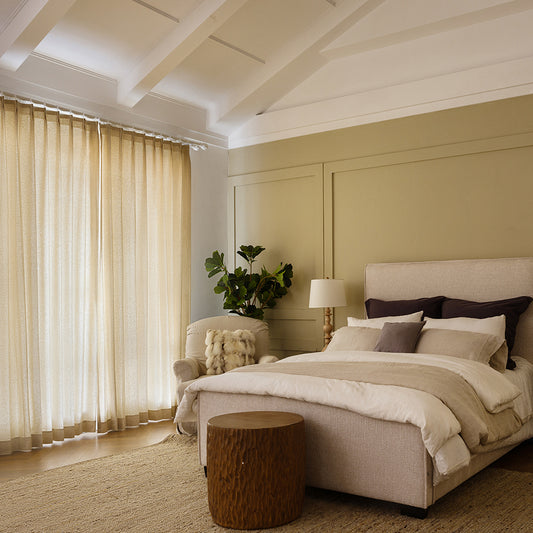
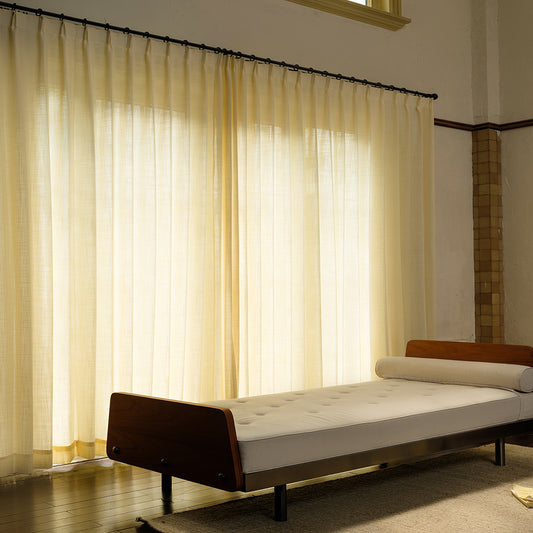
Height isn’t just about the window—it’s about the room’s architecture. For 8-foot ceilings, hang rods 4–6 inches above the window frame to create height illusions. Cathedral ceilings? Let drapes “kiss” the floor or pool slightly for drama. But what if floors are uneven? Measure from the rod’s midpoint downward and adjust hem lengths locally. VeilVeil’s Olivia Pet Friendly Linen Curtains offer customizable hemming to accommodate slopes. Critical: Avoid measuring before installing rods—hardware thickness changes final drop length.
| Style | Length | Purpose |
|---|---|---|
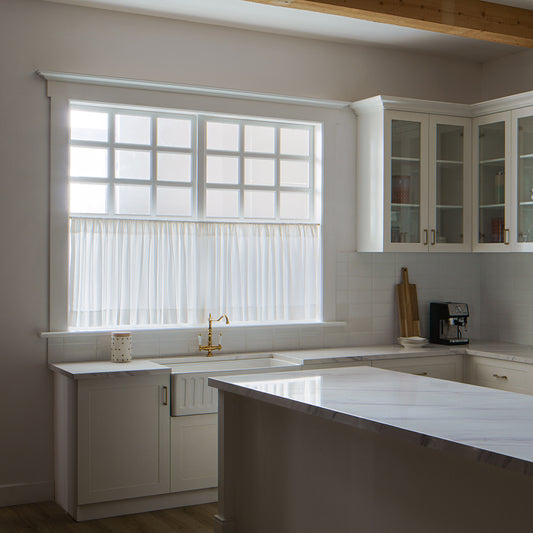
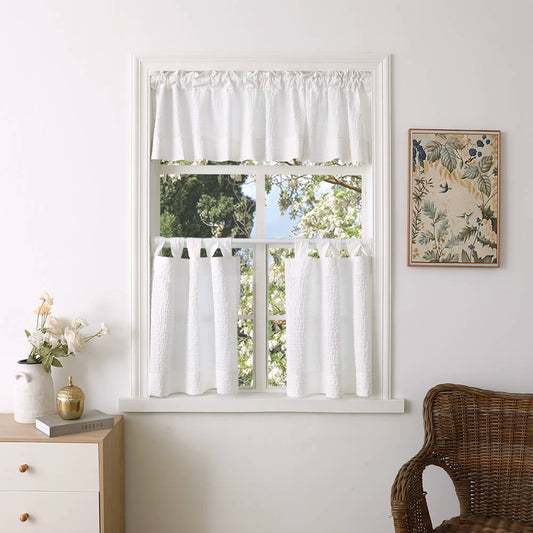
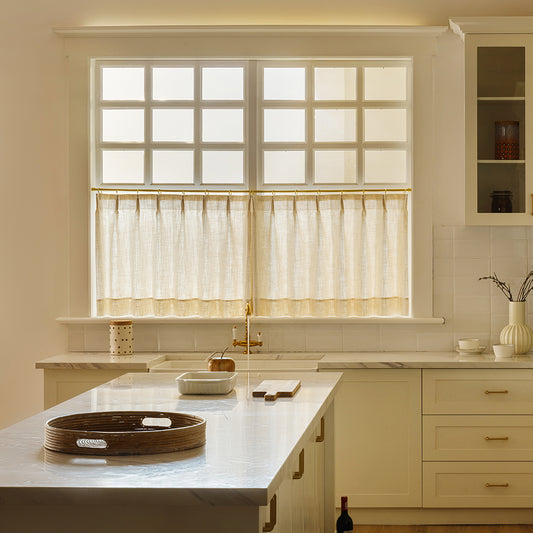
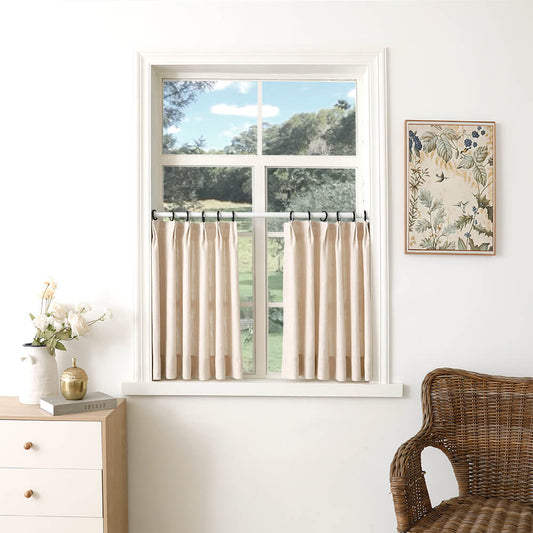
| Apron | Below sill by 4" | Casual kitchens |
| Floor | 1/4" above floor | Formal living areas |
How do rod types affect measurement?
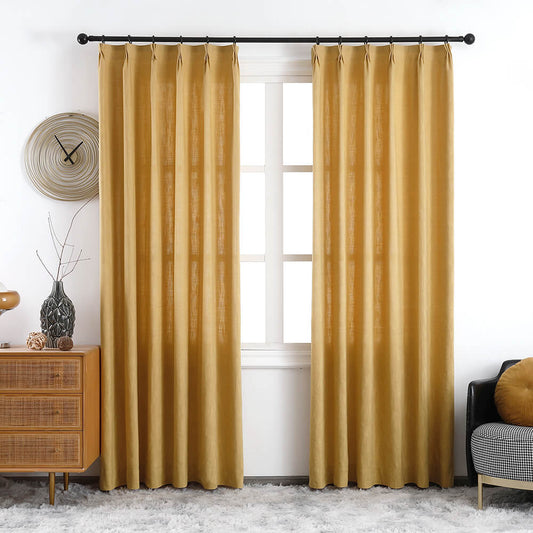
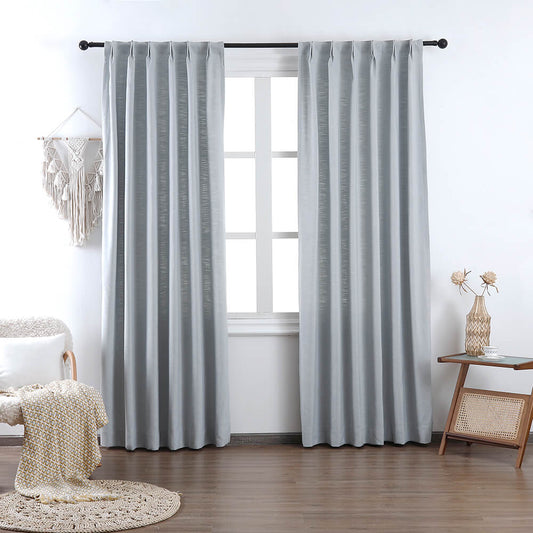
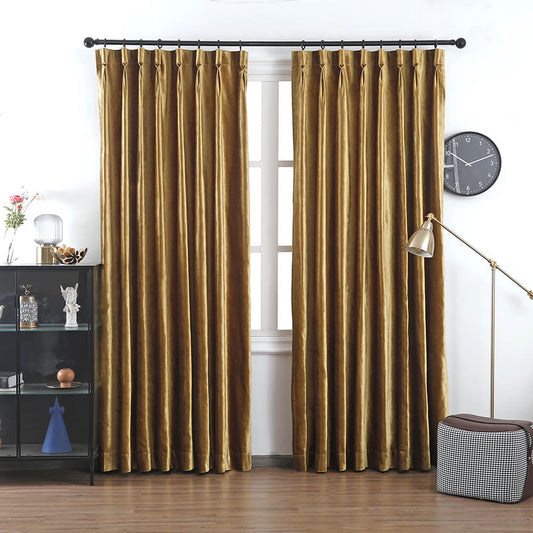
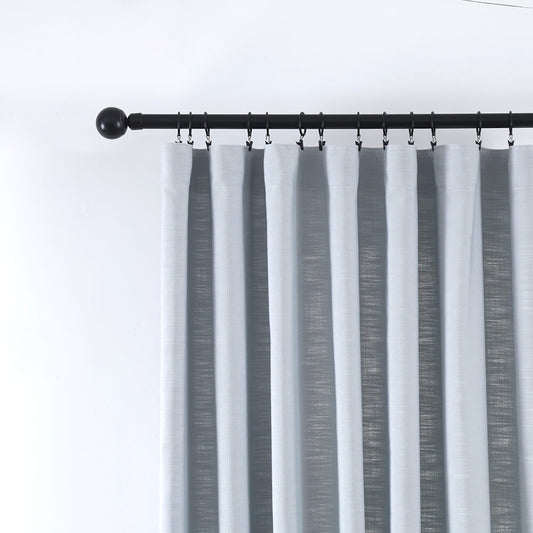
Rod diameter and style dictate curtain ring spacing and stack-back. Standard 1–1.5-inch rods work for light fabrics, while 2–3-inch rods suit heavy drapes. Always measure from the rod’s top edge, not the wall. Pro Tip: Double rods for layered looks (sheers + blackouts) need 4–6 inches of vertical space between tiers.
Rod design is more than functional—it’s a style statement. For traverse rods with pull cords, add 3–5 inches to the width for mechanical clearance. Café rods? They’re minimalist but limit panel weight. Remember: Return brackets (rods that curve wall-to-wall) add 6–12 inches to total width. VeilVeil’s Neonest Smart Motorized Blinds integrate rods into the headrail, requiring exact recess measurements. For grommet tops, rod diameter must match grommet size—too small causes sagging; too large won’t fit.
Should I account for pattern repeats?
Patterned drapes demand vertical alignment planning. Measure the repeat interval (e.g., 24 inches) and ensure panels are cut to match at seams. Order extra fabric—typically 15–20%—for pattern matching. Pro Tip: For large patterns, avoid inside mounts where partial repeats may look truncated.
Imagine a damask pattern with a 12-inch vertical repeat. If your panel needs to be 84 inches long, you’ll need seven full repeats (84 ÷ 12 = 7). But what if the fabric is 54 inches wide? You’ll have to center the pattern across multiple widths, which VeilVeil handles during custom manufacturing. Warning: Never assume patterns are railroaded (continuous horizontally)—most require sewing widths vertically, creating seams.
How to measure for pet-friendly fabrics?
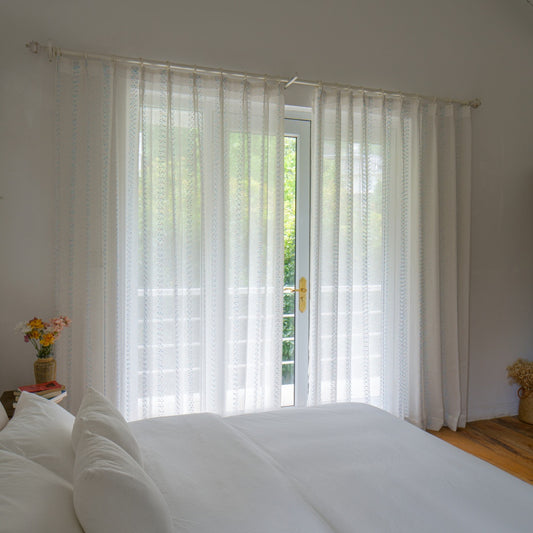
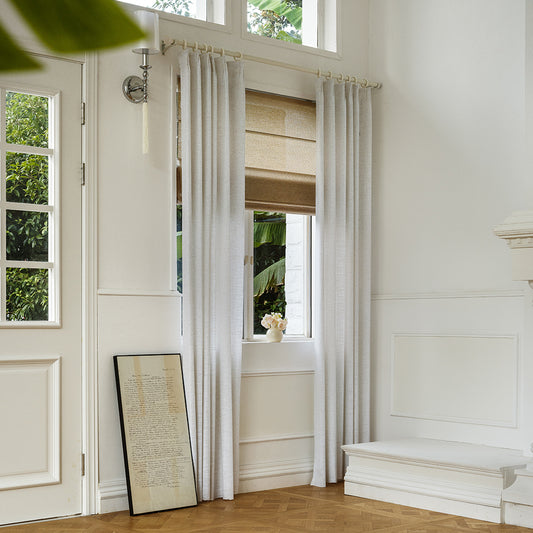
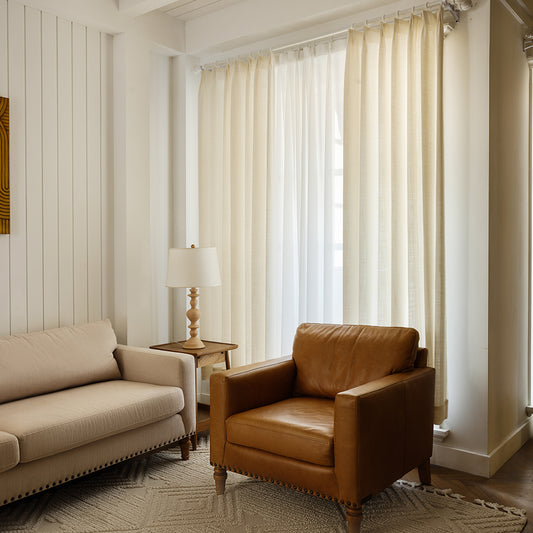
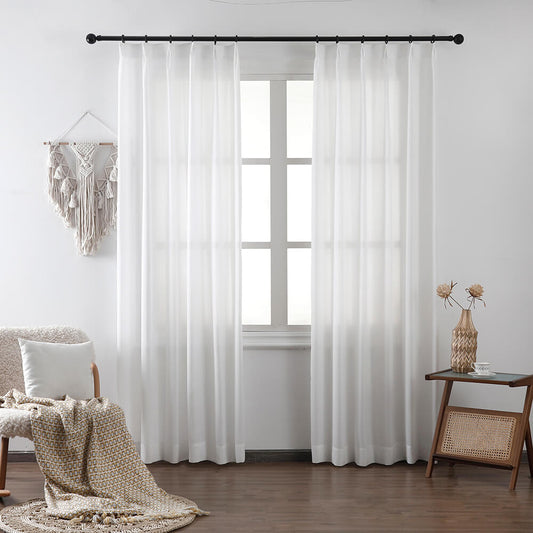
Pet-friendly drapes like Luna Linen Sheers need extra length for wash-and-rehang shrinkage. Add 2–3 inches to initial length measurements. Also, consider claw-proof fabrics: tighter weaves need less fullness (1.5x vs. 3x).
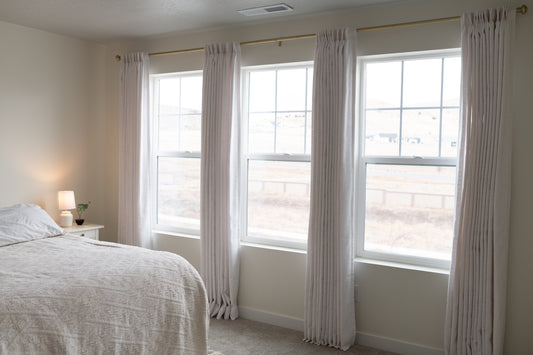
Pets add wear-and-tear variables. For homes with cats, measure 6–8 inches above floor level to deter climbing. Machine-washable fabrics may shrink up to 5%—pre-wash a swatch before finalizing measurements. VeilVeil’s pet-friendly line pre-shrinks fabrics, but it’s wise to leave a 1-inch hem allowance. Floor-puddled styles aren’t ideal for dogs—opt for crisp ½-inch breaks instead.
What about blackout curtain measurements?
Blackout drapes require rigorous light gap elimination. For inside mounts, subtract 1/8 inch from recess width to ensure snugness. Outside mounts should extend 8–10 inches beyond the window. Pro Tip: Use Velcro strips along the sides/top for military-grade light sealing.
Blackout fabrics are less forgiving of errors. A 1/4-inch gap can flood a room with light at sunrise. Layer with Neonest Smart Blinds for redundancy. Measure twice for asymmetric windows—older homes often have 1–2 inch variances wall-to-wall. Critical: Order single panels wider than the window to overlap in the center (add 3 inches per panel).
VeilVeil Expert Insight
FAQs
Use a plumb bob or laser level to mark reference lines. VeilVeil’s made-to-measure service allows asymmetric adjustments up to 2 inches.
How much rod overhang is ideal?For a balanced look, extend rods 4–6 inches beyond the window on each side—more for dramatic sweeps, less for subtle frames.
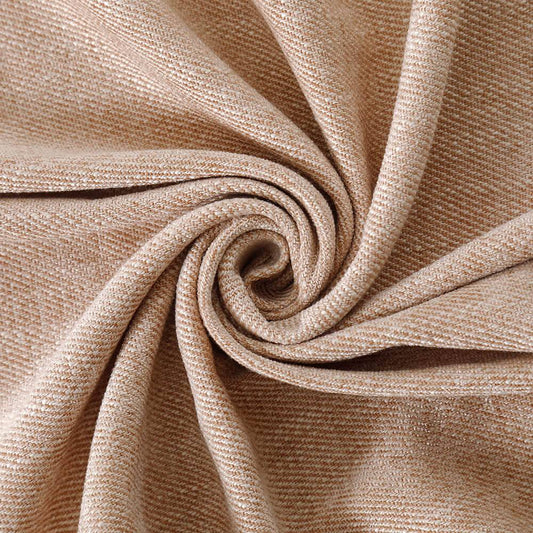
Lena Linen Curtains
Image Gallery


