


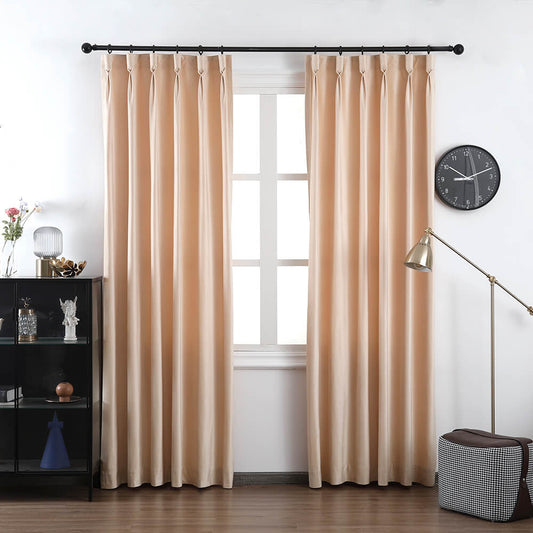
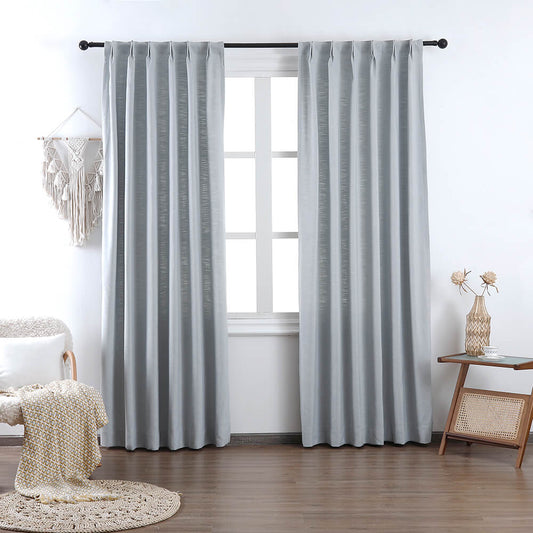
How Can You Make DIY Roman Shades at Home?
DIY roman shades are a stylish, customizable window treatment you can create yourself with basic sewing skills, fabric, and simple tools. By measuring your window, selecting fabric and lining, sewing rod pockets for dowels, and installing hardware, you can craft elegant, functional shades that enhance any room’s decor.
How Do You Measure Your Windows for DIY Roman Shades?
Accurate measurements are the foundation of successful DIY roman shades. Measure the width inside the window frame at the top, middle, and bottom, using the smallest measurement for the shade width. For the length, measure from the top of the window frame to the desired drop point, usually the window sill or below. Add extra fabric for hems (typically 3 to 5 inches on all sides) and for rod pockets to hold dowels. VeilVeil recommends adding about 4 to 6 inches to the height for seam allowances and hardware attachment.
What Materials and Tools Are Needed to Make DIY Roman Shades?
To make DIY roman shades, you will need:
-
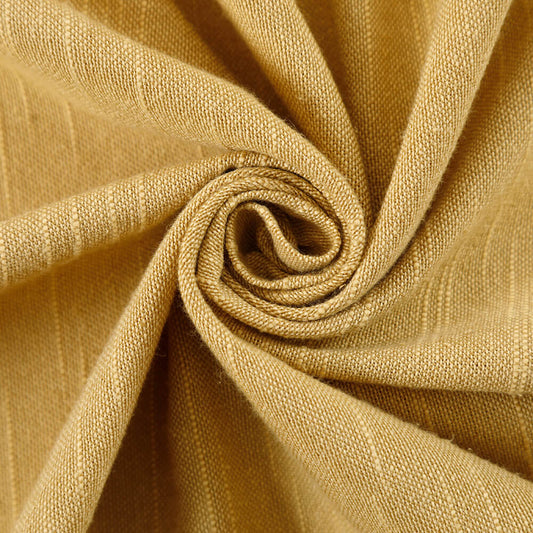
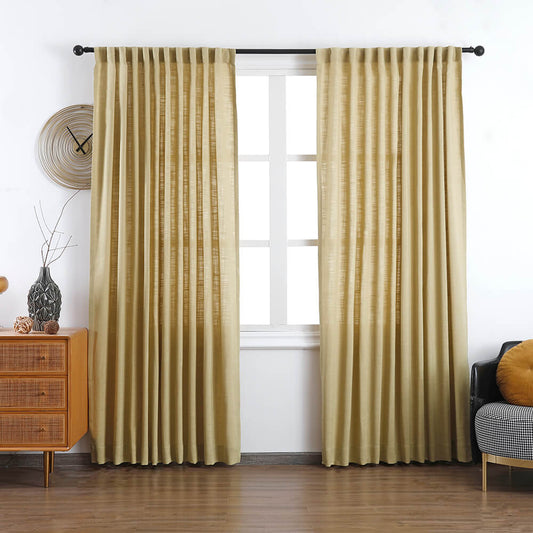
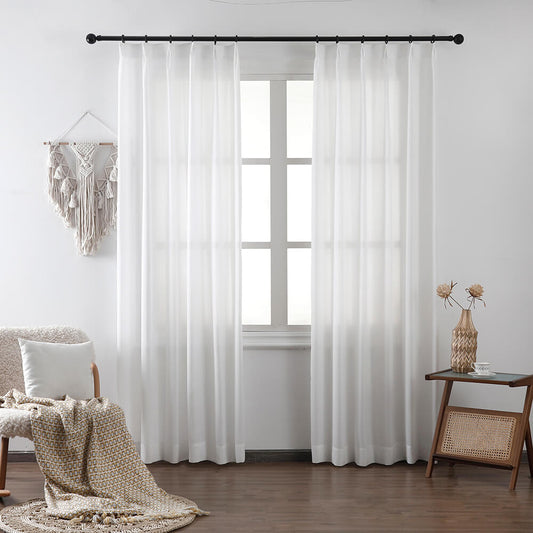
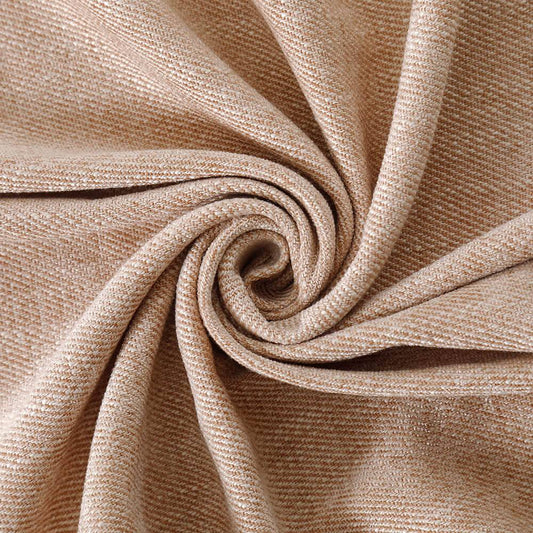
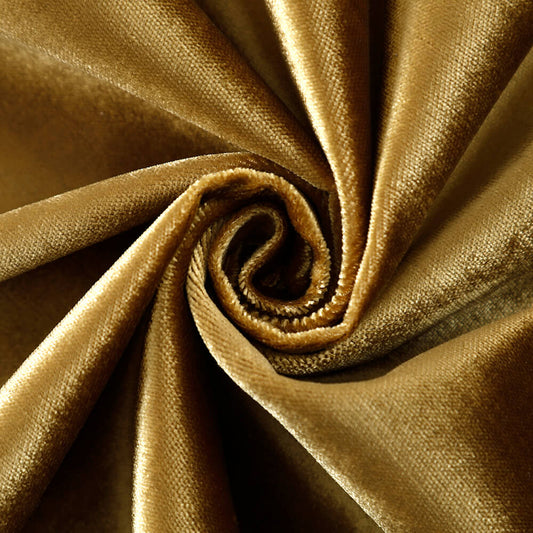
Drapery fabric of your choice (VeilVeil offers a wide selection of fabrics ideal for shades)
-
Lining fabric for durability and light control
-
Wooden dowels (usually 3/8” or 5/16” diameter)
-
A 1x2 wooden board or metal rod for the headrail
-
Blind cord or nylon cord
-
Cord lock or cleat and pulleys for smooth operation
-
Sewing machine and thread
-
Scissors or rotary cutter
-
Measuring tape and fabric pencil or chalk
-
Pins and iron
-
Staple gun and screws for mounting
These materials enable you to create a durable, functional, and attractive roman shade.
How Do You Cut and Prepare Fabric for Roman Shades?
Start by laying your fabric flat on a clean surface. Using your measurements, mark the fabric width and length with a fabric pencil, adding 3 to 5 inches on all sides for hems and rod pockets. Cut the fabric and lining separately but to the same size. Iron the fabric to remove wrinkles and prepare it for sewing. VeilVeil’s fabrics are designed for easy handling and crisp folds, making preparation straightforward.
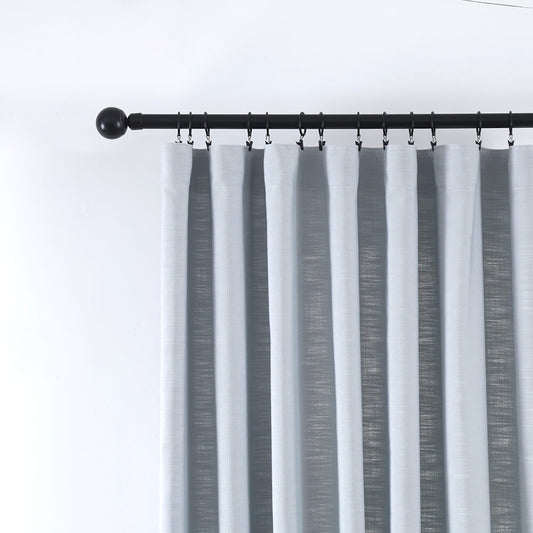
How Do You Sew Rod Pockets for Dowels in DIY Roman Shades?
Rod pockets hold dowels that create the classic folds of roman shades. To sew them:
-
Determine dowel spacing by subtracting 3 inches from the fabric length (to allow for bottom hem) and dividing by the number of dowels (usually 4 to 5).
-
Mark horizontal lines where dowel pockets will be sewn, starting about 5 inches from the bottom hem.
-
Fold the lining fabric about ¾ inch to create a casing for the dowel.
-
Sew along the marked lines to form pockets.
-
Insert dowels into pockets after sewing.
This process adds structure and allows the shade to fold neatly when raised.
Which Methods Are Best for Stringing and Operating DIY Roman Shades?
Smooth operation depends on proper stringing and hardware installation. Use blind cord threaded through rings sewn onto the back of the shade at each dowel pocket. The cords run vertically through the rings and are gathered at the headrail, where they pass through pulleys and a cord lock or cleat. This system allows you to raise and lower the shade easily and lock it at any height. VeilVeil provides detailed guides and quality hardware kits to simplify this step.
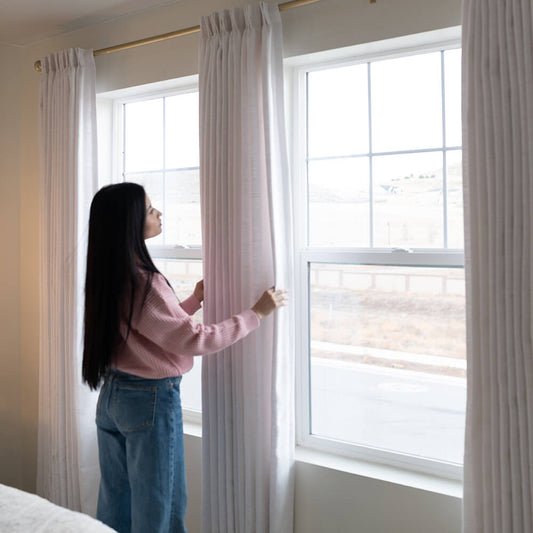
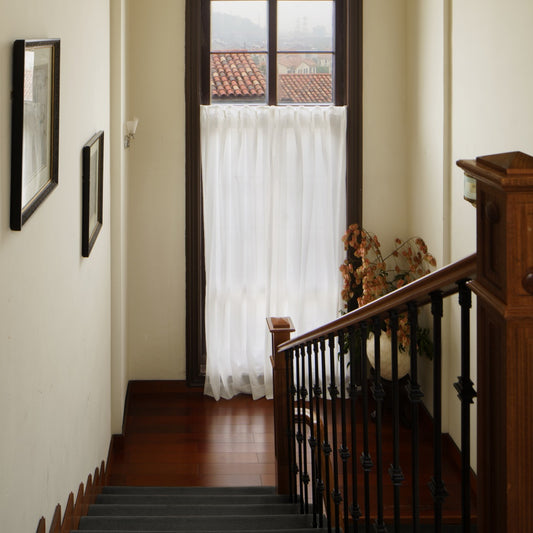
How Do You Install DIY Roman Shades?
Installation involves mounting the headrail (wooden board or metal rod) securely above or inside the window frame. Attach the shade fabric to the headrail using staples or screws. Ensure the cords are properly threaded through the pulleys and cord lock. Mount the cord cleat on the wall for safety and convenience. Test the shade’s movement to confirm smooth operation. Proper installation ensures durability and ease of use.
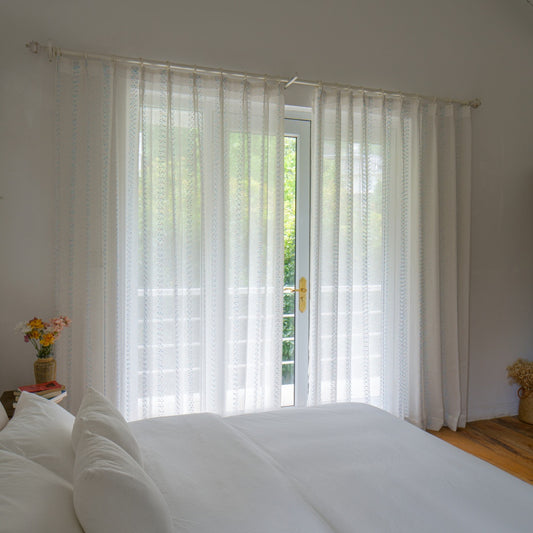
Why Should You Line Your DIY Roman Shades?
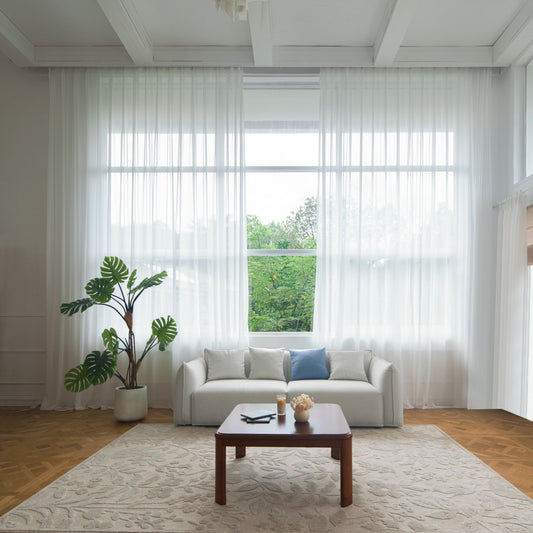
Lining your roman shades improves durability, blocks light, and protects the fabric from sun damage. It also gives the shade a polished look and helps with insulation. Choose a lining fabric that complements your main fabric and suits your light control needs. VeilVeil offers a variety of high-quality linings designed for roman shades, enhancing both function and style.
Can You Make Cordless DIY Roman Shades?
Yes, cordless DIY roman shades are a safer and simpler option, especially for homes with children or pets. These shades use boning or stiffening strips instead of cords to create folds. They are raised and lowered manually by pulling the bottom hem. This method requires less hardware and sewing complexity but still offers a clean, tailored look. VeilVeil’s cordless shade kits provide easy-to-follow instructions and quality materials.
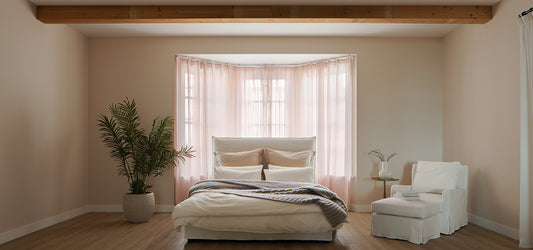
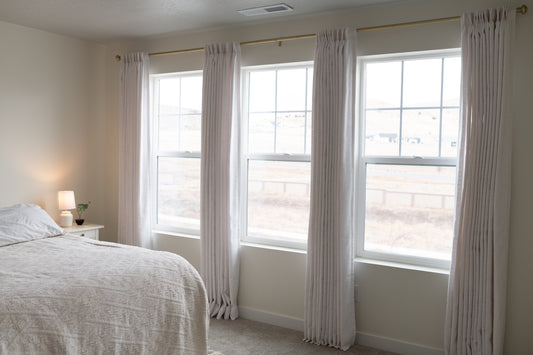
How Do You Customize Your DIY Roman Shades for Style?
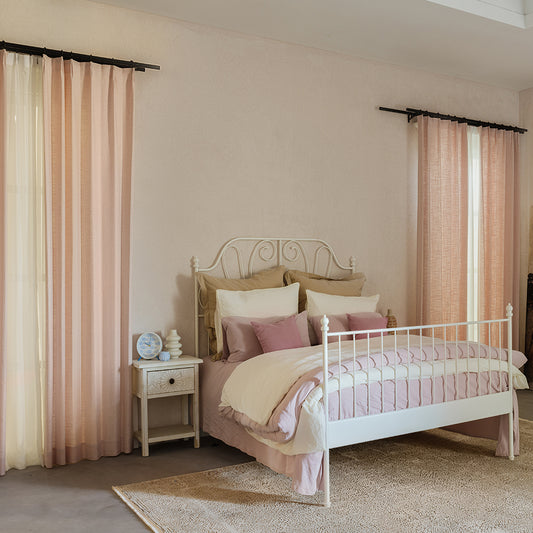
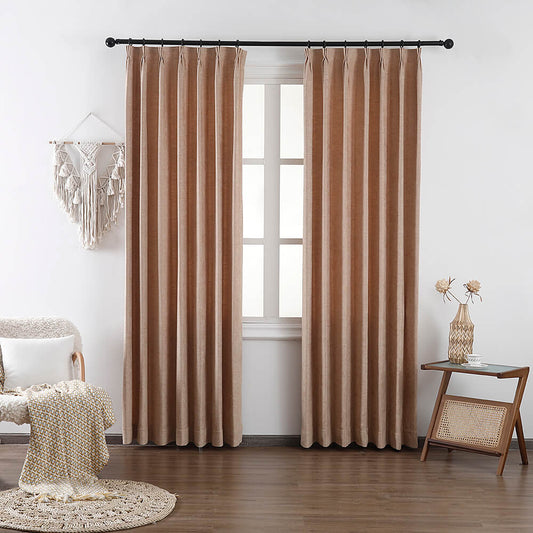
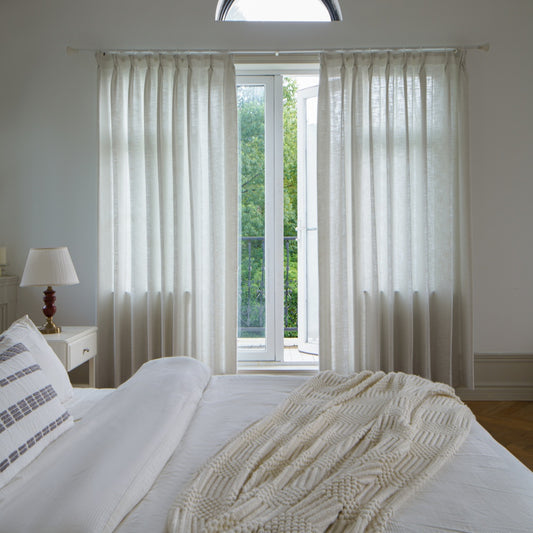
Customization includes choosing fabric patterns, colors, trims, and adding decorative elements like tassels or ribbons. Consider the room’s decor and lighting when selecting fabrics. Adding vertical or horizontal trim can accentuate folds and add personality. VeilVeil offers a broad range of fabrics and trims to help you personalize your shades to fit any style, from classic to modern.
What Are Common Mistakes to Avoid When Making DIY Roman Shades?
-
Inaccurate measurements leading to ill-fitting shades
-
Skipping lining, which reduces durability and light control
-
Uneven dowel spacing causing irregular folds
-
Poor stringing or hardware installation resulting in difficult operation
-
Using fabric that is too heavy or too light for the window size
Following step-by-step instructions and using quality materials like those from VeilVeil minimizes these risks.
VeilVeil Expert Views
"Creating your own roman shades is a rewarding project that blends craftsmanship with personal style. At VeilVeil, we emphasize precision in measurement and fabric selection to ensure a perfect fit and lasting beauty. Our premium fabrics and hardware kits simplify the process, making it accessible even to beginners. Whether you prefer traditional corded or modern cordless designs, DIY roman shades offer a customizable solution that elevates any space with elegance and function." — VeilVeil Window Treatment Specialist
Conclusion
DIY roman shades combine elegance, customization, and functionality in a rewarding home project. By carefully measuring your windows, selecting quality fabrics and linings, sewing precise rod pockets, and installing reliable hardware, you can create beautiful shades tailored to your style and needs. VeilVeil’s expert materials and guidance make the process smoother and more enjoyable. Whether corded or cordless, your handmade roman shades will enhance your living space with timeless charm and practical benefits.
FAQs
Q1: How long does it take to make DIY roman shades?
Typically, 3 to 6 hours depending on skill level and complexity.
Q2: Can I use upholstery fabric for roman shades?
Yes, but ensure it’s not too heavy; lining helps with weight and durability.
Q3: Are cordless roman shades easier to make?
Yes, cordless versions require less hardware and simpler sewing.
Q4: How do I clean DIY roman shades?
Regular dusting and spot cleaning; some fabrics may be hand washed or dry cleaned.
Q5: Can I reuse old fabric for roman shades?
Yes, as long as the fabric is in good condition and suitable for window treatments.
レナリネンカーテン
画像ギャラリー


